I’ve spent years in the construction field, working hands-on with saws and saw blades. One issue I’ve encountered time and again is burn marks on wood caused by a circular saw. It’s frustrating when a seemingly simple cut ruins the look of your project, but the good news is that it’s usually easy to fix. In this article, I’ll share my personal insights into why this happens and how you can prevent it, so you can achieve clean, professional cuts every time.
When Will You Notice a Circular Saw Blade Burning Wood?
I first noticed this issue years ago while working on a custom shelving project. Dark burn marks appeared along my cuts, and the smell of burnt wood refilled the air. You’ll know your blade is burning the wood when you see scorch marks or if your saw struggles to cut smoothly. If you’re working with hardwood, this problem can show up even faster.
The key is recognizing these signs early before they mess up your project or damage your tools.
Top Reasons Your Saw Blade is Burning Wood & How to Prevent It
Can you imagine, after years of cutting through every type of wood , I’ve seen my fair share of saw blade burn marks. They’re frustrating and can ruin a project if you’re not careful. But the good news? They’re usually easy to prevent. Here’s what I’ve learned from my time in the shop.
1. The Blade Is Dull
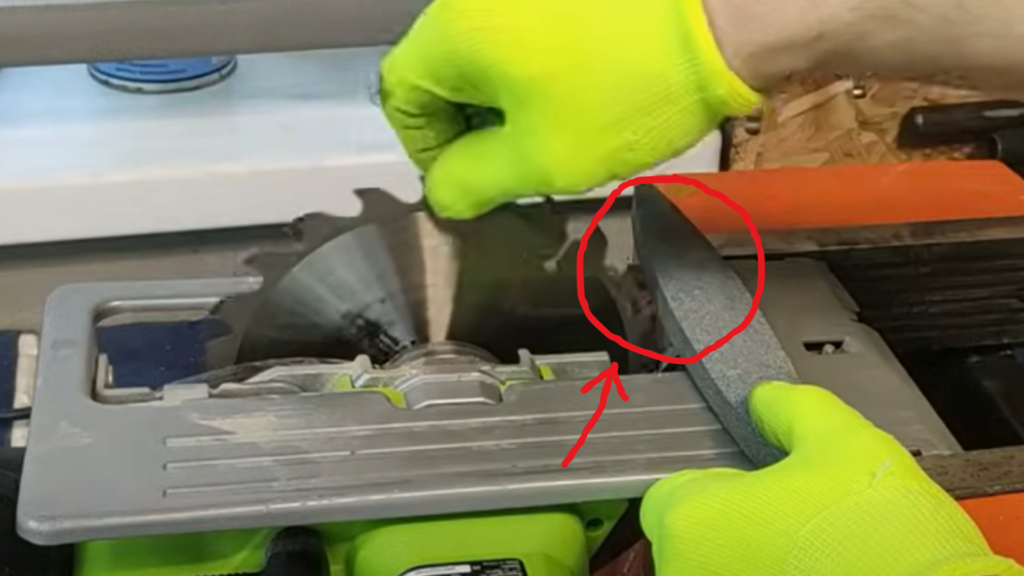
A dull blade doesn’t cut cleanly—it drags through the wood, creating heat and friction. I remember one time I was rushing to finish a project and ignored the signs of a dull blade. Big mistake! The burns were so bad I had to scrap the piece.
How to Prevent It:
Sharpen your blade or replace it if it’s worn out. Keeping an extra sharp blade nearby has saved me more times than I can count.
2. The Blade Is Dirty
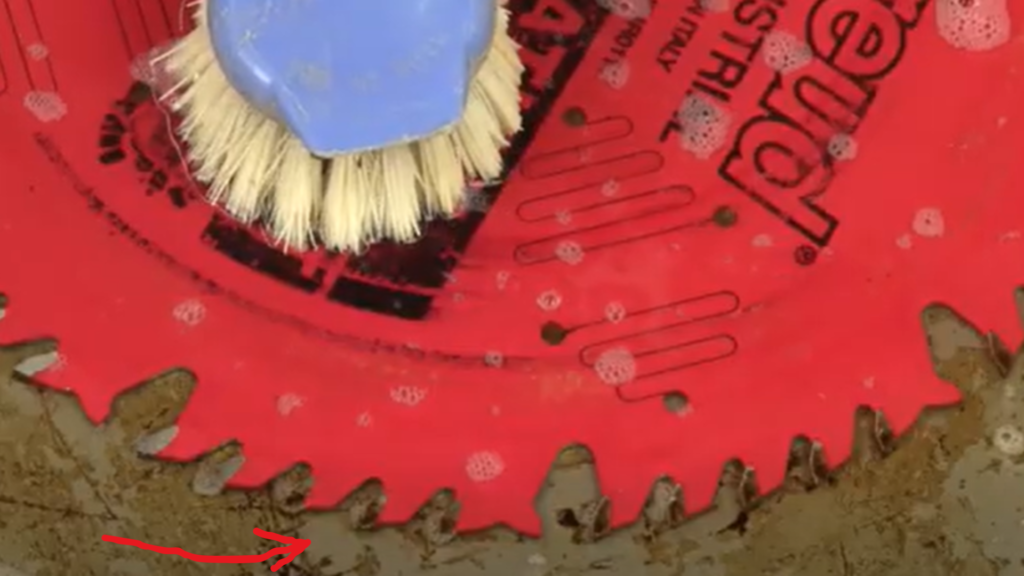
After cutting a lot of wood, resin and sawdust can cake onto the blade. This sticky buildup adds friction, which makes the blade heat up. I’ve learned to clean my blades regularly after seeing how much smoother they cut afterward.
How to Prevent It:
Use a good blade cleaner to remove debris and pitch. I make it a habit to clean my blades after every few projects, and it keeps them performing like new.
3. The Wrong Blade Is Installed
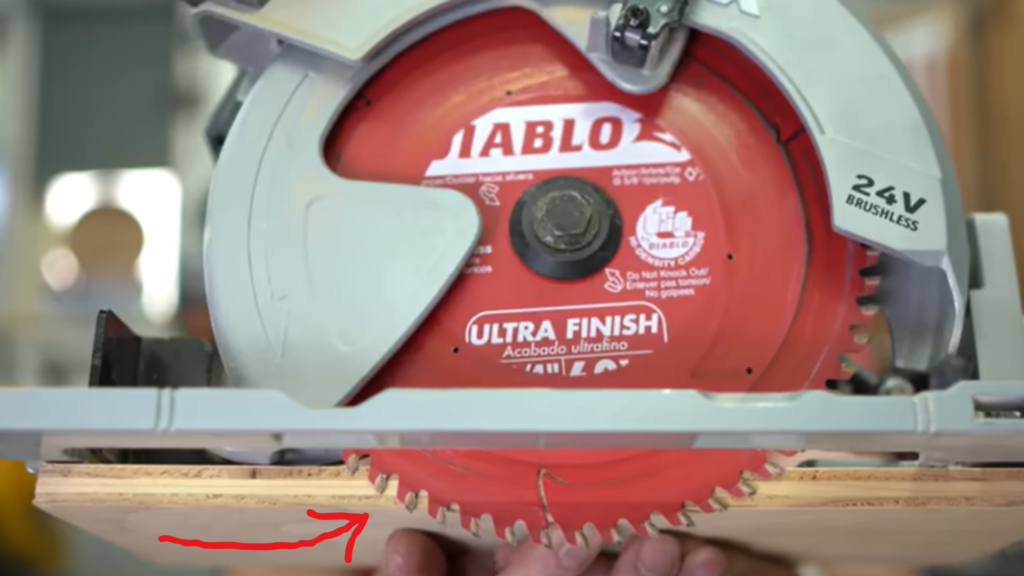
Not all blades are made for the same job. A ripping blade works great for long cuts along the grain, but it’s awful for crosscuts. I’ll never forget the time I used a rough-tooth blade for finish work—it left burn marks all over my material.
How to Prevent It:
Check the blade label and make sure it matches your material and cut type. Using the right blade saves time and avoids mistakes.
4. The Saw Is Misaligned
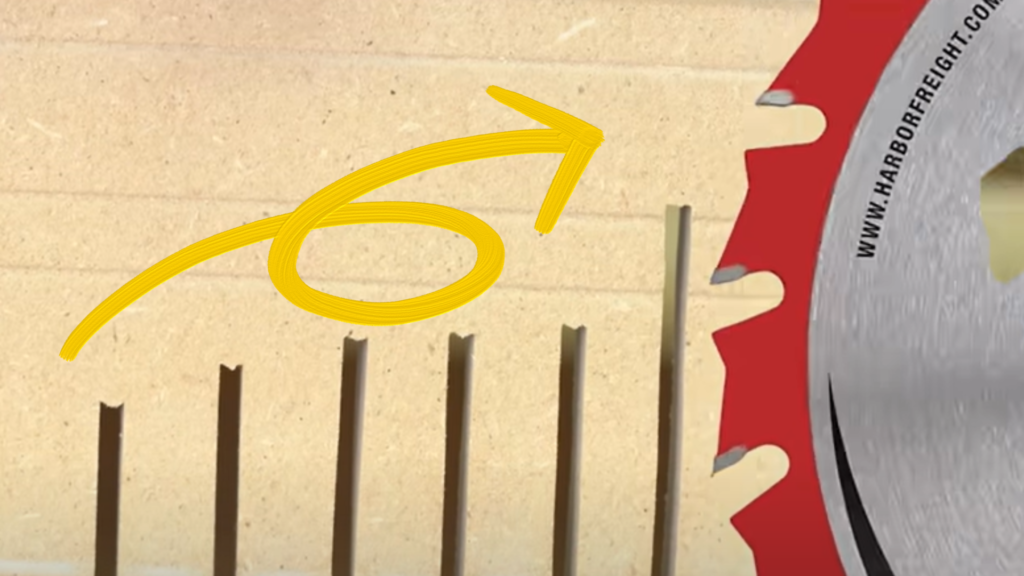
If your saw blade or fence isn’t lined up correctly, you’ll get uneven cuts. This creates friction on the sides of the blade, which causes burns. I’ve had to stop mid-project to fix alignment issues more than once, and it’s always worth the effort.
How to Prevent It:
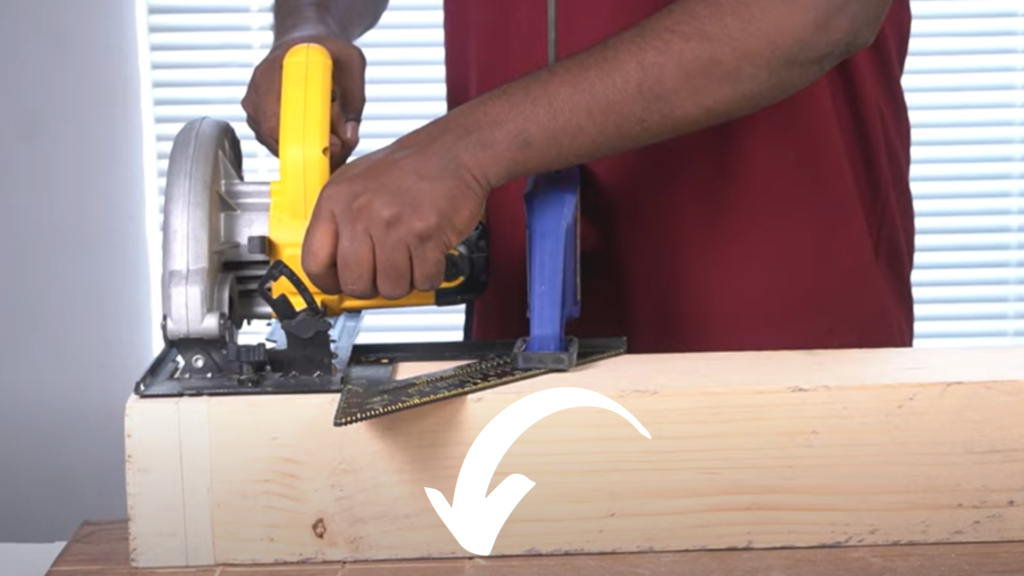
Before cutting, use a square to check the alignment of your blade and fence. Adjust them until everything is straight.
5. Poor Cutting Technique
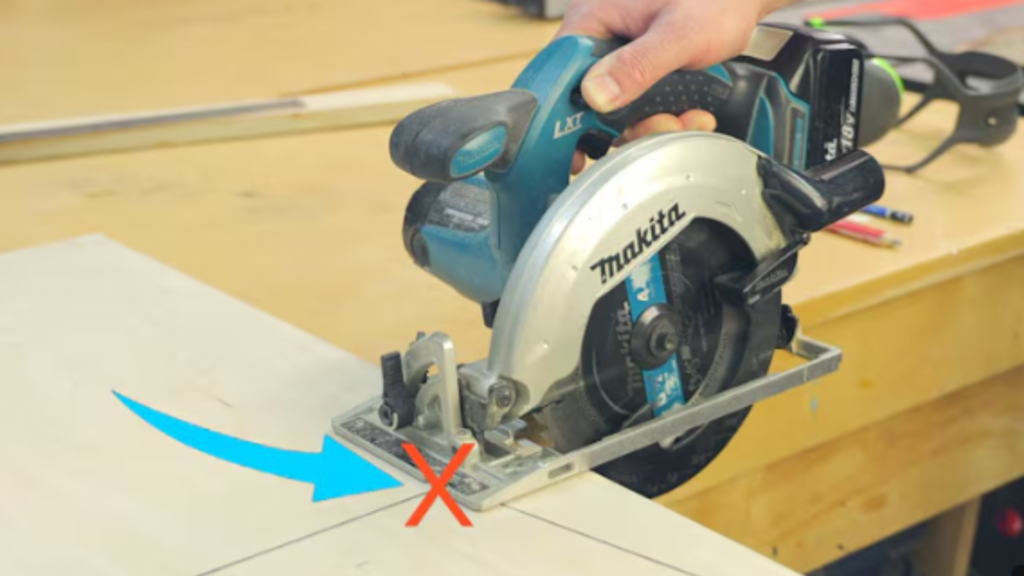
Rushing or forcing the saw through wood can cause burns. I’ve learned the hard way that cutting too slowly or applying too much pressure heats the blade.
How to Prevent It:
Let the saw do most of the work. Push steadily, but don’t force it. It’s all about finding a steady, even pace.
6. The Material Is Hard to Cut
Certain woods, like oak or maple, are more prone to burning. Knotty or resin-filled pieces can also heat up your blade quickly. I’ve faced this problem often when working with reclaimed wood.
How to Prevent It:
Use a sharp blade specifically made for hardwoods. For extra-tough material, make shallow passes instead of cutting all the way through in one go.
A Simple Guide to Avoiding Burn Marks
Here’s what I recommend to avoid burns and keep your cuts clean:
- Inspect your blade regularly: Check for dullness or buildup.
- Clean your blade after major projects: Remove pitch and resin for smoother cuts.
- Use the right blade for the job: Make sure it’s suited for your material and type of cut.
- Align your saw components: A properly aligned saw cuts more efficiently.
- Practice steady cutting: Push the wood at a consistent pace.
- Test on scrap wood: This helps you adjust your technique before cutting your actual material.
Conclusion
Burn marks on wood can be frustrating, but they usually mean there’s an issue you can solve. Problems like a dull blade, misalignment, or poor technique are common causes. Paying close attention to your tools and how you use them makes a big difference. From my experience, simple fixes like cleaning the blade, using the right type, and maintaining a steady cutting pace can prevent burns. These small adjustments not only protect your tools but also help you create cleaner, more professional projects. Keep practicing and improving, and your results will keep getting better!
FAQ
1. Why does my circular saw blade smoke when cutting?
Your blade is likely dull or dirty, causing friction that leads to smoke.
2. How do I sharpen a dull blade?
You can use a blade sharpener or take it to a professional for precise sharpening.
3. What type of blade is best for hardwood?
A sharp, high-tooth-count blade works best for clean cuts in hardwood.
4. Can I clean my blade at home?
Yes, use a blade cleaner and a stiff brush to remove resin and debris.
5. How often should I clean my blade?
Clean it after every major project or when you notice buildup affecting performance.
6. How do I align my saw blade?
Use a square to check the blade’s angle to the baseplate and adjust as needed.
7. What happens if I use the wrong blade?
The wrong blade can lead to burn marks, rough cuts, and damage to the material.
8. Can burn marks be removed from wood?
Yes, light sanding usually removes burn marks without damaging the surface.
9. What’s the ideal feed rate for cutting?
Push the wood steadily—not too fast or slow—to let the blade cut efficiently.
10. Are burn marks dangerous for my saw?
Burn marks can indicate stress on your blade or saw motor, so address the issue to avoid long-term damage.

